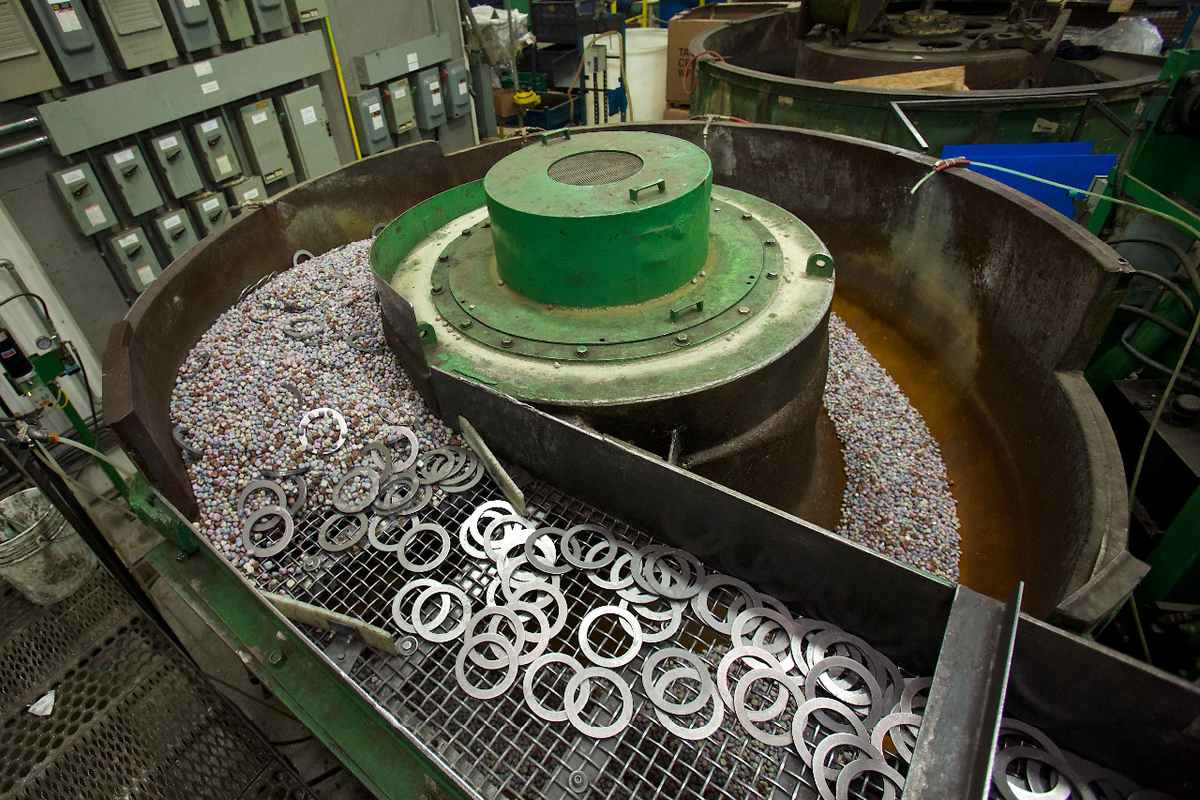
At Latem Industries quality and speed to market guide our decisions each and every day. Our quality processes are built around strict guidelines that were initially developed for the automotive industry. While our customer base spans a large number of industry sectors, we apply many of the elements of PPAP, Production Part Approval Process, to our quality standards.
Quality - Where does it start?
Latem recognizes that quality is essentially the outcome of every interaction we have with our customers and their products. In order to meet the needs of our customers we first must have an innate understanding of the challenges they face in order to create and execute the most efficient and cost effective solution. Our quality team is involved with every aspect of our business. In essence, quality does not begin or end anywhere but rather, is a perpetual mandate within our organization.
Creating Solutions - In order to best meet the requirements of our customers our internal quality process begins with customer supplied samples. Our quality team reviews these samples along with all customer supplied drawings and specifications. We then consider several key criteria for optimal processing including the size of the product, shape or geometry, material composition, material thickness, weight and the application of the part.
Trial Process - Once the best possible solution is developed, we then process the customer supplied samples on a no charge basis. These samples are then returned to our customer’s quality team for inspection and comment. Once approved, the production process is recorded within our quality system and we ready for production.
Production- Exacting Standards for Quality Consistency
Our commitment to quality is shared by every employee at Latem Industries. Our quality team developed several standards that ensure that our customers products are processed exactly as required every time, these processes include;
Control Plan - the Control Plan is created by our quality team and provides the operator or inspector with the information required to properly control the process and produce consistent results. It includes instructions regarding actions taken if a quality issue arises.
The Control Plan is used in conjunction with an inspection sheet or checklist and helps assure quality is maintained throughout process by establishing a standard for quality inspection and process monitoring. Control Plans are living documents that are periodically updated as the measurement methods and controls are improved.
FMEA - Failure Mode and Effects Analysis - is a structured approach to discovering potential failures that may exist within our process. Failure modes are the ways in which a process can fail. Effects are the ways that these failures can lead to waste or defects for our customer. Failure Mode and Effects Analysis is designed to identify, prioritize and limit these failure modes. Simply put, its an analysis of understanding what could go wrong in order to ensure it doesn’t happen. It’s planning NOT to fail.
Quality Inspections - In order to ensure we meet our quality criteria each and every time, ongoing inspections and audits are completed throughout the process. There are 4 levels of audit that ensures we deliver consistent quality each and every time.
Level 1
Trained Operators - each process operator is trained to perform quality audits throughout the processing. Many of our operators have more than 30 years experience and are skilled at identifying potential quality issues.
Level 2
Production Supervisors - our production supervisors also preform quality audits throughout and at the conclusion of processing our customers products.
Level 3
Quality Team - Our quality team audits and signs off on process completed prior to returning the products to our customers.
Level 4
Layered Audits - Senior management regularly audits completed processes to ensure our customers expectations are met.
Our quality team utilizes several tools to inspect and measure the results of our processes. These are used in conjunction with any customer supplied instruments. These tools include;
- Vernier Caliper - a measurement tool used to monitor thickness, depth and diameter of processed parts
- Digital Thickness Gauge - Used to maintain a thickness specification
- Plug Gauge - Ensures the diameter of a hole or opening in a product is maintained throughout processing
- Durometer Gauge - Measures the hardness of a product after processing
- Tensile Tester - Determines the tensile strength or breaking point of a product
- Micrometer - Delivers an accurate measurement of a product
- Scanning Electron Microscope - Determines the amount of particulate that remains on a product after processing
We are the industry leader in mass finishing and coatings due largely to our relentless pursuit of uncompromising quality. Our complete team focus on quality combined with our experience means you will receive the Perfect Finish- each and every time.
The bitterness of poor quality remains long after the sweetness of low price is forgotten – Benjamin Franklin

